Table of Contents
Ask Us Any Question
1. Introduction
Magnesium oxide (MgO) board is widely used in modern construction for interior walls, ceilings, flooring substrates, and various fire-rated assemblies. Its strength, dimensional stability, and Class A fire performance make it a preferred alternative to gypsum board, fiber cement, and OSB in many applications. However, to achieve the expected performance, proper installation is essential. Incorrect fastening, joint treatment, or moisture management can lead to board movement, cracking, or reduced durability over time.
This installation guide provides a complete, step-by-step overview of how to install MgO boards correctly across different building systems. It covers essential tools, fastening methods, cutting techniques, joint finishing, and critical precautions for both residential and commercial projects. Whether you are a contractor, installer, designer, or distributor, this guide will help ensure safe, efficient, and long-lasting installation results.
2. Where MgO Board Can Be Installed
Magnesium oxide (MgO) board is a versatile building material suitable for multiple interior applications, provided that proper installation and moisture protection measures are followed. Its strength, screw-holding capacity, and non-combustible nature allow it to function as a substrate, lining, or sheathing in various building systems.
2.1 Interior Walls and Partitions
MgO board is commonly used as wall lining for residential, commercial, and industrial buildings. It installs easily on both steel and timber framing and provides excellent fire resistance and acoustic performance. For high-traffic areas, thicker boards can be used as impact-resistant wall panels.
2.2 Ceilings
Thanks to its light weight and dimensional stability, MgO board performs well in ceiling applications. It resists sagging better than traditional gypsum, making it suitable for offices, corridors, schools, and public facilities.
2.3 Flooring Substrate and Underlayment
When installed over joists or as an underlayment above a subfloor, MgO board creates a strong, smooth surface for tile, stone, vinyl, and other flooring systems. Proper screw spacing and structural support are essential for load-bearing performance.
2.4 Exterior Use — Conditional
MgO board cannot be directly exposed to water or weather. Exterior installation is only possible when the board is fully sealed and isolated from moisture through a complete waterproofing system. Without this protection, long-term durability cannot be guaranteed.
👉️ See full applications of mgo board

3. Tools & Materials Required
Successful installation of MgO board depends on using the right tools and materials. The following items are commonly required for most interior applications:
3.1 Tools:
-
Measuring tape, pencil, and straight edge for accurate marking
-
Circular saw, jigsaw, or utility knife for cutting boards
-
Drill or screwdriver for fastening screws
-
Spirit level and laser level to ensure plumb and alignment
-
Trowels, putty knives, and sanding tools for joint finishing
3.2 Materials:
-
MgO boards in appropriate thickness (commonly 9mm, 12mm, or 15mm)
-
Screws designed for MgO board (self-tapping or fine-thread)
-
Joint tape or fiberglass mesh for seams
-
Joint compound or filler for finishing
-
Optional: waterproofing membranes for moisture-sensitive areas
Ensuring that all tools are in good condition and materials are suitable for the application will help maintain installation quality, prevent damage, and achieve long-lasting performance.
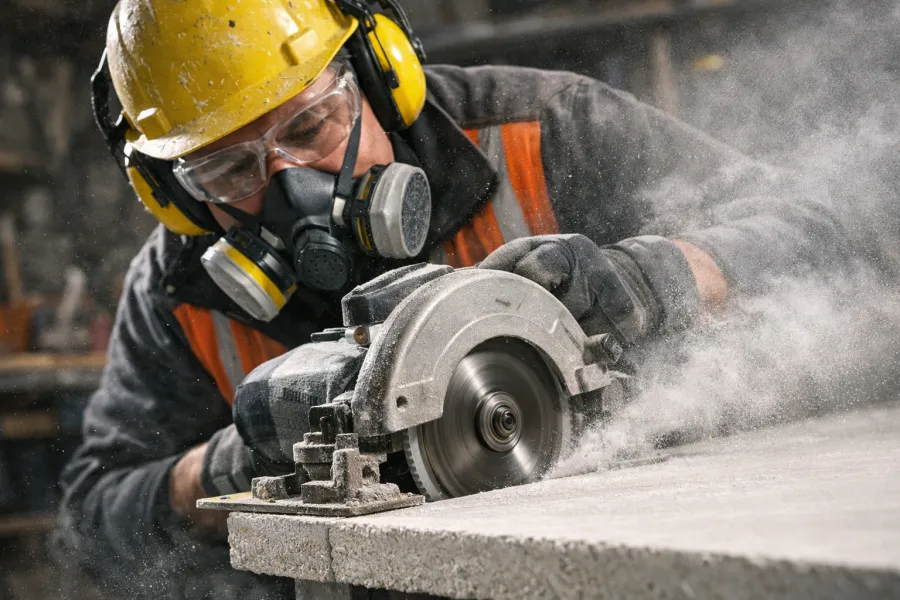
4. General Cutting Methods
Cutting MgO board accurately and safely is essential to maintain board integrity and prevent cracking or chipping. The following methods are recommended:
4.1 Hand Tools:
For small boards or minor adjustments, a utility knife or hand saw can be used. Score the board along a straightedge, then snap it along the scored line. This method works best for thinner boards (up to 12mm).
4.2 Power Tools:
Circular saws, or table saws equipped with carbide-tipped or diamond blades provide precise cuts for larger boards or thicker panels. Always adjust blade height and speed according to board thickness.
4.3 Safety Precautions:
-
Always wear safety goggles, gloves, and a dust mask when cutting
-
Cut in a well-ventilated area to minimize dust inhalation
-
Support the board fully on a flat surface to prevent splintering
-
Avoid forcing the blade; let the tool cut at a steady pace
Proper cutting ensures clean edges, reduces material waste, and facilitates easier installation, especially when fitting boards around openings, corners, and fixtures.
5. Fastening Requirements
Proper fastening is critical to ensure the structural stability and long-term performance of MgO board installations. Using the correct screws, spacing, and method will prevent board movement, cracking, and edge damage.
5.1 Screw Types:
-
Use screws specifically designed for MgO board, such as self-tapping or fine-thread screws.
-
Stainless steel or corrosion-resistant screws are recommended in areas with higher humidity.
5.2 Screw Spacing:
-
Edges: Place screws every 150–200mm along board edges.
-
Field: Space screws every 250–300mm across the board surface.
-
Adjust spacing for thicker boards or higher load areas.
5.3 Installation Tips:
-
Ensure screws penetrate the framing fully without over-driving, which can crush the board surface.
-
Maintain at least 10–12mm distance from board edges to avoid splitting.
-
For ceiling or overhead applications, consider additional temporary support until screws are fully secured.
Following these fastening guidelines helps achieve a flat, stable surface suitable for finishing, tiling, or other decorative applications, while maintaining fire and structural performance.
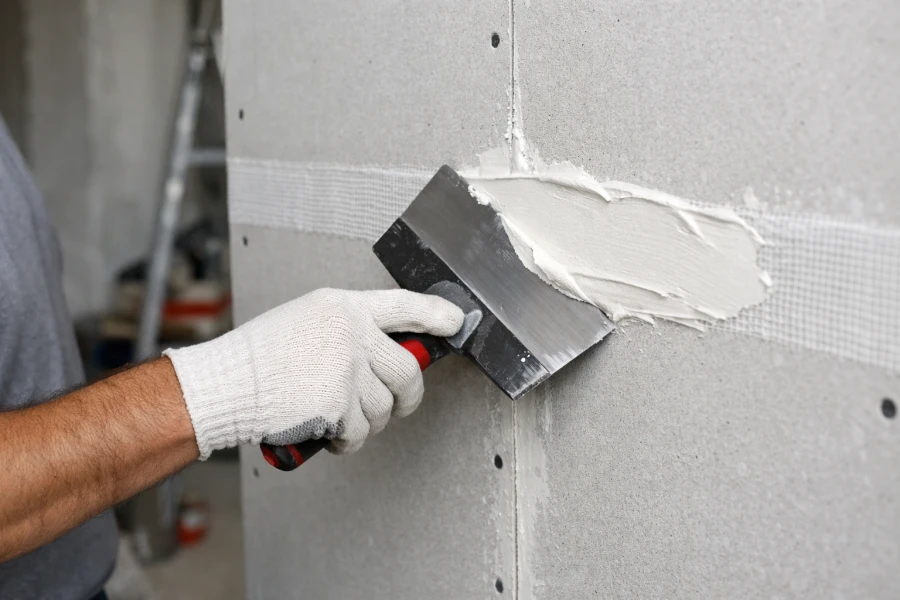
6. Joint Treatment
Proper joint treatment is essential for MgO board installations to achieve a smooth, durable finish and prevent cracking along seams.
Step 1: Apply Joint Tape
-
Use fiberglass mesh tape or paper tape over all board joints.
-
Ensure the tape is fully embedded into the joint compound to prevent air pockets.
Step 2: Apply Joint Compound
-
Spread a thin layer of joint compound or MgO-compatible filler over the taped seams.
-
Feather the edges to blend with the board surface.
-
For thicker boards or high-traffic areas, a second coat may be necessary after the first has dried.
Step 3: Sanding
-
Once the compound is fully dry, lightly sand the joints using fine-grit sandpaper to achieve a flat, even surface.
-
Avoid over-sanding, which can expose the tape or damage the board surface.
Tips:
-
Apply compound in thin layers to reduce shrinkage cracks.
-
Maintain consistent drying conditions and avoid excessive moisture during curing.
-
Proper joint treatment not only improves aesthetics but also enhances fire resistance and overall durability.
7. Waterproofing & Moisture Management
Magnesium oxide (MgO) board is not inherently waterproof, so proper moisture management is critical to prevent swelling, delamination, or long-term degradation, especially in wet or humid environments.
7.1 Interior Applications:
-
In bathrooms, kitchens, or laundry areas, install a vapor barrier behind the MgO board to reduce moisture penetration.
-
Apply water-resistant primer or coating on the board surface before tiling or finishing.
-
Ensure joints are sealed with waterproof compound to prevent water ingress.
7.2 Exterior Applications (Conditional):
-
MgO board can only be used outdoors if fully isolated from water.
-
A complete waterproofing system, including membranes, flashing, and protective cladding, is essential.
-
Direct exposure to rain or standing water will significantly reduce the board’s lifespan and structural integrity.
7.3 General Tips:
-
Avoid installing MgO board in areas prone to prolonged standing water.
-
Always check manufacturer recommendations for moisture-sensitive areas.
-
Proper waterproofing ensures durability, maintains fire performance, and reduces maintenance over time.
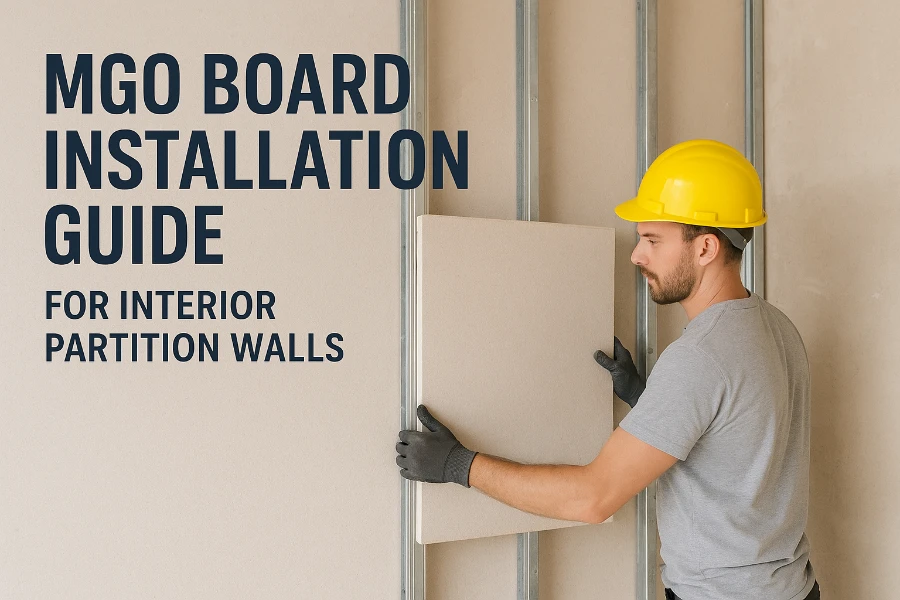
8. Installation by Application
MgO board installation varies depending on the intended application, and following proper methods for each ensures durability and performance.
Interior Walls and Partitions:
-
Install boards on steel or timber studs using appropriate screws.
-
Maintain recommended edge and field screw spacing.
-
Treat joints with tape and joint compound as described previously.
-
Thicker boards can be used for high-traffic areas or impact resistance.
👉️ MGO Board Installation Guide for Interior Partition Walls
Ceilings and Soffits:
-
Support boards with adequate framing to prevent sagging.
-
Use longer screws suitable for overhead applications.
-
Maintain alignment with laser or spirit levels for flat surfaces.
Flooring Substrate and Underlayment:
-
Lay boards over joists or subfloor with staggered joints.
-
Ensure full contact with framing to minimize deflection.
-
Proper screw spacing is essential to prevent movement under load.
-
This provides a stable base for tiles, stone, vinyl, or laminate finishes.
👉️ Installation Method for Magnesium Oxide Board Flooring Using Joists
Cutting and Fitting:
-
Cut boards accurately using recommended tools.
-
Fit around openings, corners, and fixtures carefully to minimize gaps.
-
Refer to the detailed cutting guide for best practices.
By following these methods, installers can achieve safe, efficient, and long-lasting MgO board performance across all interior applications.

9. Common Mistakes to Avoid
Even with proper tools and materials, several common mistakes can compromise the performance of MgO board installations:
Over-Driving Screws:
-
Driving screws too deep can crush the board surface, reduce holding strength, and create weak points around edges.
Incorrect Joint Treatment:
-
Skipping tape, applying joint compound too thickly, or uneven sanding can lead to cracks, gaps, and poor aesthetics.
Improper Moisture Protection:
-
Installing boards in wet areas without vapor barriers or waterproof coatings can cause swelling, delamination, or mold growth.
-
Direct exterior exposure without full waterproofing will drastically reduce durability.
Insufficient Structural Support:
-
Boards installed without adequate framing or fastener spacing may sag or warp, especially for ceilings and flooring underlayment.
Poor Cutting Practices:
-
Forcing blades, using dull tools, or inadequate support while cutting can cause chipping or irregular edges.
Avoiding these mistakes ensures smooth, durable surfaces, maintains fire resistance, and maximizes the lifespan of MgO boards.
10. Conclusion
Proper installation is key to unlocking the full performance of Magnesium Oxide (MgO) boards. By following the guidelines on cutting, fastening, joint treatment, and moisture management, installers can ensure durable, fire-resistant, and stable surfaces for walls, ceilings, and flooring substrates.
Always select the right board thickness, use recommended tools and screws, and apply appropriate waterproofing where necessary. For detailed instructions on specific applications, refer to the dedicated guides for flooring installation, interior partition walls, and cutting techniques.
Careful planning and adherence to these steps will result in long-lasting, high-quality installations, maximizing both safety and aesthetic appeal for residential and commercial projects.

Learn how to use Magnesium Oxide (MgO) board for roofing. Explore types, installation steps, advantages, and precautions for durable, fire-resistant roofs.

Discover how MgO board enhances prefab houses with fire resistance, moisture protection and eco-friendly benefits for modern modular construction.
Learn step-by-step MGO board installation for interior partition walls, including site prep, keel setup, insulation, joint treatment, and quality checks.