Table of Contents
Ask Us Any Question
1. Introduction
In modern construction, Magnesium Oxide Board (MgO board) has become a popular alternative to traditional gypsum or fiber cement boards. Known for its fire resistance, moisture protection, and durability, MgO board is widely used in walls, ceilings, subfloors, and exterior sheathing.
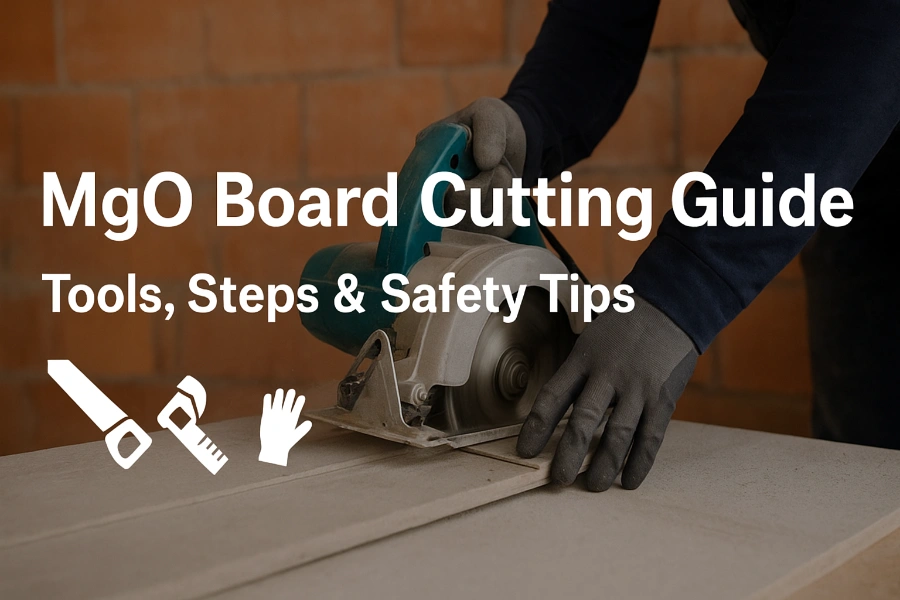
However, when it comes to installation, one of the most common questions builders and contractors ask is: How do you cut MgO board properly? Unlike gypsum drywall, which can be scored and snapped with ease, MgO boards are denser and harder, which means they require more careful handling. That is why understanding MgO board cutting methods is critical for achieving clean edges and avoiding breakage.
This guide will walk you through everything you need to know about cutting MgO boards—from the tools you need to the step-by-step process and important safety measures. By following the right techniques, you can ensure smooth installation, reduce waste, and maintain the strength and beauty of your MgO panels.
Whether you are a professional contractor or a DIY enthusiast, this MgO board cutting guide will help you get the job done efficiently and safely.
2. Understanding Magnesium Oxide Board
Before diving into the details of MgO board cutting, it is important to understand the material itself. Magnesium Oxide Board (MgO board) is a reinforced, cementitious panel made from magnesium oxide, magnesium chloride, perlite, and fiberglass mesh. The result is a strong, lightweight, and environmentally friendly building board that offers several advantages over traditional gypsum or cement boards.
One key difference is density. MgO boards are typically denser and harder than gypsum drywall, which means they are more resistant to impact and fire but also more challenging to cut. While gypsum can often be scored and snapped with a utility knife, cutting MgO boards usually requires specialized tools such as circular saws, jigsaws, or carbide-tipped blades.
Another characteristic to consider is moisture resistance. MgO panels do not soften or crumble when exposed to water, which makes them ideal for kitchens, bathrooms, basements, and even exterior applications. However, this water resistance also makes them less flexible, meaning improper cutting techniques can cause chipping at the edges.
By understanding these material properties, builders can choose the right method for how to cut magnesium oxide board without damaging its surface or structural integrity. The next section will cover the specific tools required for different thicknesses and cutting scenarios.
3. Tools for Cutting MgO Board
Selecting the right tools is the foundation of successful MgO board cutting. Because MgO boards are denser and harder than gypsum drywall, choosing the correct cutting equipment ensures clean edges, reduces dust, and minimizes the risk of cracking or breakage.
For thin boards (≤ 8mm), a simple utility knife or scoring knife can be effective. The process is similar to working with gypsum: score along a straightedge several times, then snap the board along the line. This technique, often called score and snap cutting, is efficient for light interior applications.
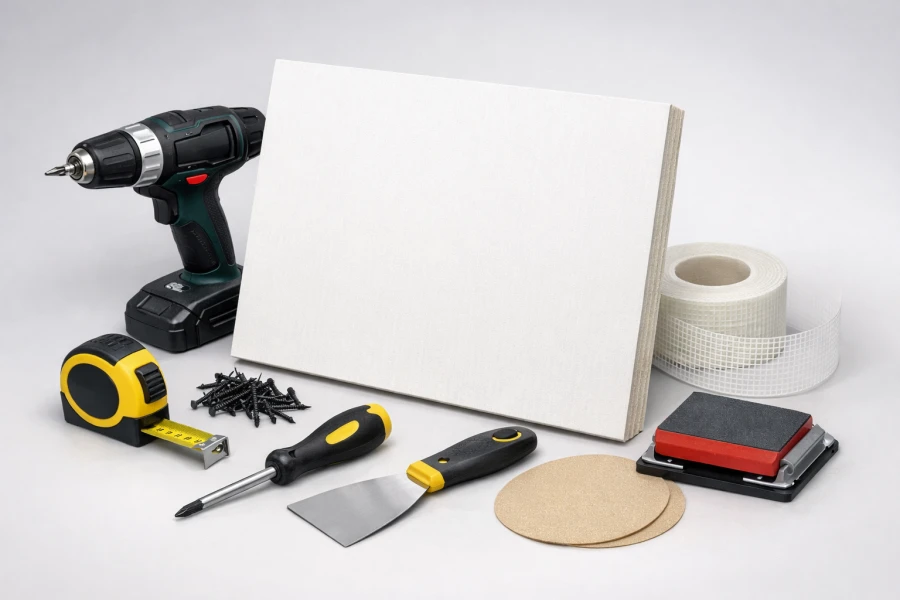
For medium to thick boards (≥ 10mm), power tools are recommended. A circular saw fitted with a carbide-tipped blade provides smooth, straight cuts. For curves or smaller openings, such as around pipes or electrical outlets, a jigsaw with a fine-tooth blade works well. Hand saws may be used for on-site adjustments, but they are slower and less precise for large projects.
In addition to cutting tools, proper safety equipment is essential. Always wear protective gloves, safety glasses, and a dust mask when cutting MgO boards, as the fine dust can irritate the respiratory system. Using a saw with a vacuum attachment or performing cuts outdoors in a well-ventilated area will further improve safety.
By preparing the right MgO board cutting tools, contractors and DIY installers can achieve professional results while extending the life of their equipment.
4. Step-by-Step Cutting Guide
Proper MgO board cutting requires careful preparation and methodical execution. Following these steps will help you achieve clean edges and minimize breakage:
Step 1: Measure and Mark
Start by accurately measuring the area where the board will be installed. Use a straightedge or ruler to mark the cut line with a pencil. Clear, precise markings ensure the board fits perfectly and reduce the need for adjustments later.
Step 2: Prepare the Board
Place the MgO board on a stable, flat surface. For larger boards, support both sides with sawhorses or a workbench to prevent sagging. Ensure the marked line is accessible for cutting.
Step 3: Choose the Cutting Method
-
Thin boards (≤ 8mm): Score along the marked line multiple times with a utility knife. Apply gentle pressure to snap the board along the score. This is the classic scoring and snapping technique.
-
Thick boards (≥ 10mm): Use a circular saw with a carbide-tipped blade for straight cuts. Move the saw slowly along the line to prevent chipping. For curved cuts or openings, a jigsaw works best.
-
Small adjustments: A hand saw or fine-tooth saw can help trim edges on-site.
Step 4: Cut the Board
Keep a steady hand and consistent pressure. Avoid forcing the tool, which can lead to edge splintering or uneven cuts. If using a power saw, cut at a moderate speed and follow the marked line carefully.
Step 5: Edge Finishing
After cutting, lightly sand or file the edges to remove minor roughness. This improves the fit between panels and ensures smooth joints when applying finishes.
Step 6: Clean Up
MgO boards produce fine dust during cutting. Clean the work area with a vacuum or damp cloth, and dispose of debris safely. Always wear a dust mask during cleanup to protect your respiratory system.
By following these steps, both professionals and DIY enthusiasts can master how to cut magnesium oxide board efficiently, resulting in precise installation and a clean finish.

5. Safety Precautions During Cutting
Safety is a crucial aspect of MgO board cutting, as improper handling can lead to injuries or health hazards. Magnesium Oxide boards produce fine dust when cut, which can irritate the eyes, skin, and respiratory system. Following proper safety measures ensures a safe working environment.
Personal Protective Equipment (PPE)
Always wear safety glasses or goggles to protect your eyes from flying debris. Use a dust mask or respirator to avoid inhaling fine particles, and wear protective gloves to prevent cuts or abrasions while handling boards. Long sleeves and pants are recommended to reduce skin exposure.
Tool Safety
When using power tools such as circular saws or jigsaws, ensure that the blades are sharp and properly secured. Check that all guards are in place and follow the manufacturer’s instructions. Always cut on a stable surface to prevent slipping, and maintain a firm grip on the tool throughout the operation.
Workspace Precautions
Perform cutting in a well-ventilated area, or use a dust extraction system if working indoors. Keep the workspace free of unnecessary obstacles to prevent trips and falls. Avoid rushing the cutting process; moving too quickly increases the risk of mistakes and accidents.
Handling and Storage
Store MgO boards flat and on a stable surface to prevent warping or accidental tipping. When lifting large panels, use proper lifting techniques or get assistance to avoid strain or injury.
By adhering to these safe MgO board cutting practices, you can protect yourself while ensuring accurate, clean cuts. Safety should always be prioritized alongside efficiency and quality in any cutting project.
6. Common Mistakes to Avoid
Even experienced builders can encounter problems during MgO board cutting if they overlook common mistakes. Being aware of these issues helps ensure clean cuts and reduces waste.
1. Using the Wrong Tool
One of the most frequent errors is using inappropriate tools. For example, attempting to cut thick MgO boards with a utility knife or a standard wood saw can cause chipping, uneven edges, or breakage. Always select the right tool based on board thickness and cut type.
2. Applying Excessive Force
Forcing the board or pushing the saw too quickly may damage the edges. Thin boards are particularly prone to cracking if too much pressure is applied. Instead, let the tool do the work and maintain a steady, controlled movement.
3. Ignoring Expansion Gaps
Failing to leave small gaps between adjacent boards during installation can lead to cracking or warping over time. Always allow for natural expansion, especially in environments with high humidity.
4. Neglecting Safety Measures
Skipping protective gear or working in poorly ventilated areas can expose you to dust-related respiratory issues or eye irritation. Always wear a dust mask, safety glasses, and gloves, and maintain proper ventilation.
5. Improper Handling and Storage
Dropping boards or stacking them unevenly can result in edge damage or cracks before installation. Store boards flat and lift them carefully, preferably with assistance for large panels.
By avoiding these common pitfalls, you can master how to cut magnesium oxide board efficiently and safely. Careful planning, correct tools, and proper technique make all the difference in achieving professional-quality results.
7. Conclusion
Cutting MgO boards correctly is essential for achieving a clean, durable, and professional installation. By understanding the material properties, selecting the right MgO board cutting tools, following step-by-step techniques, and adhering to proper safety precautions, both professionals and DIY enthusiasts can minimize waste and prevent damage.
Remember to avoid common mistakes, such as using the wrong tool, applying excessive force, or neglecting expansion gaps and safety measures. Proper handling and preparation are just as important as the cutting process itself.
Whether you are installing MgO boards for interior walls, ceilings, or exterior applications, mastering how to cut magnesium oxide board ensures a smooth workflow and a high-quality finish.
If you would like more guidance or technical support on working with MgO boards, including sample boards, detailed installation instructions, or project consultation, feel free to contact us. Our team is ready to help you achieve the best results with professional advice and proven methods.
Learn how to properly install MgO boards for walls, ceilings, and flooring. This step-by-step guide covers cutting, fastening, joint treatment, etc.
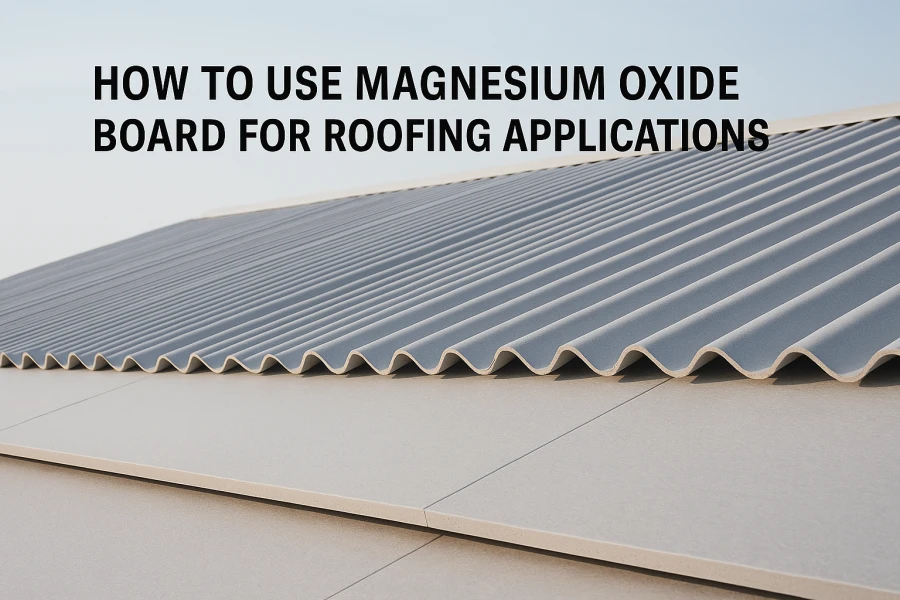
Learn how to use Magnesium Oxide (MgO) board for roofing. Explore types, installation steps, advantages, and precautions for durable, fire-resistant roofs.
Discover how MgO board enhances prefab houses with fire resistance, moisture protection and eco-friendly benefits for modern modular construction.


